
Capello Clock Instructions: A Comprehensive Guide
This guide details setup, operation, and troubleshooting for your Capello Clock, including potential Outlook.com integration for enhanced calendar and email notifications.
What is a Capello Clock?
The Capello Clock is a sophisticated timekeeping device designed for both functionality and potential smart integration. Beyond simply displaying the time and date, it aims to seamlessly connect with popular platforms like Outlook.com, offering features such as email and calendar synchronization.
Currently, while direct integration is a potential future feature, the clock excels as a reliable time source with alarm capabilities. It’s envisioned to leverage Outlook.com’s Smart Network Data Services (SNDS) for enhanced deliverability and security, mirroring the stricter authentication standards being enforced for high-volume email senders.

The Capello Clock isn’t just about telling time; it’s about streamlining your digital life, potentially managing tasks through Microsoft To Do and organizing newsletters directly within the Outlook.com ecosystem.
Understanding the Basic Components
The Capello Clock comprises several key elements working in harmony. These include the clock face, displaying time and potentially date information, and the hands (or digital display) indicating current time. Crucially, it features control buttons – their specific functions will be detailed later – used for setting time, alarms, and navigating features.
Power is supplied either via batteries or an optional power adapter. Understanding these components is vital for initial setup and ongoing maintenance. Future iterations may incorporate connectivity features, leveraging Outlook.com’s infrastructure for data synchronization, but the core components remain consistent.
The clock’s design prioritizes user accessibility, with clearly labeled buttons and an intuitive interface, aiming for seamless integration into daily routines, potentially alongside Outlook.com’s productivity tools.
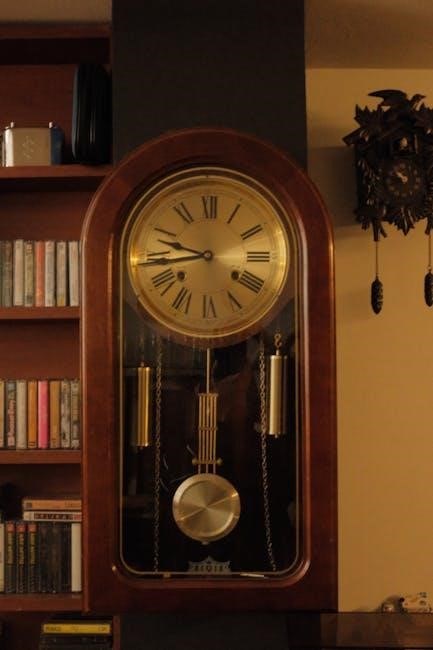
The Clock Face and Hands
The Capello Clock’s face serves as the primary visual interface, displaying time in a clear and easily readable format. Depending on the model, this may utilize traditional analog hands or a digital display. Analog models feature hour, minute, and potentially second hands, designed for quick time assessment.
Digital displays offer precise time readings, often including date information. The face’s design prioritizes legibility, with contrasting colors and clear numbering. Future models might integrate with Outlook.com, displaying calendar appointments or email notifications subtly on the face.
Hand movement (in analog models) is driven by a quartz movement, ensuring accuracy. The clock face’s overall aesthetic is designed to complement various décor styles, blending functionality with visual appeal.
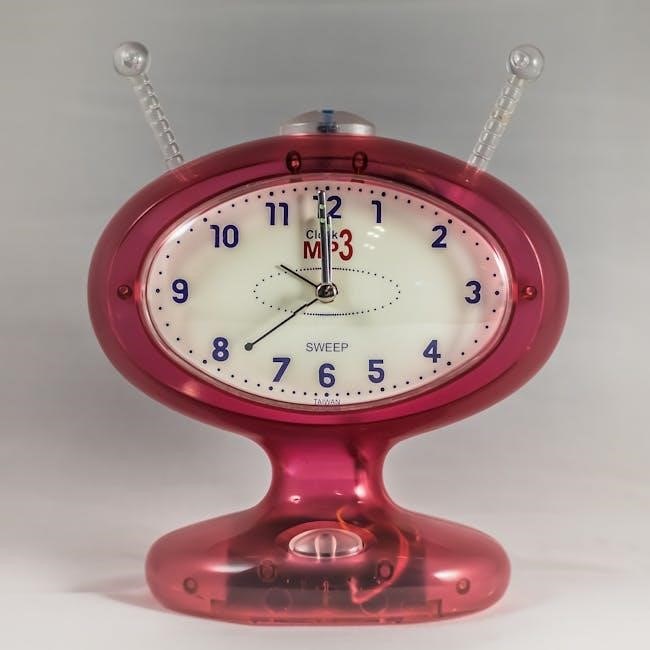
The Control Buttons & Their Functions
The Capello Clock utilizes a set of intuitively designed control buttons located on the rear or side of the unit. These buttons facilitate all clock functions, including time and date setting, alarm management, and backlight activation. Typically, buttons are labeled “Mode,” “Set,” “Alarm,” and “Snooze/Light.”
The “Mode” button cycles through different settings – time, date, alarm. “Set” confirms selections during adjustments. “Alarm” manages alarm activation and deactivation. “Snooze/Light” temporarily silences alarms and activates the backlight for improved visibility.
Potential future integration with Outlook.com may introduce a dedicated button for synchronization, streamlining calendar and notification access. Refer to the diagram for precise button locations and their corresponding functions.
Initial Setup and Powering On
Before using your Capello Clock, ensure it’s properly prepared for operation. Begin by carefully unpacking the clock and removing any protective films. Next, decide on your power source: batteries or the included AC adapter. If using batteries, proceed to the “Installing Batteries” section. If using the adapter, connect it to a suitable power outlet and the clock’s power port.
Once powered, the clock should illuminate, displaying a default time and date. If the display is blank, double-check the power connection or battery installation. Initial setup may require setting the correct time and date, detailed in the following sections. Outlook.com integration, when available, will require a separate setup process.
Installing Batteries or Connecting Power Adapter
The Capello Clock offers flexible power options; For battery operation, locate the battery compartment – typically on the rear of the unit. Insert the required number of batteries (refer to the specifications for type and quantity), ensuring correct polarity (+ and -) as indicated. A secure fit is crucial for reliable operation.
Alternatively, use the provided AC adapter. Connect the adapter’s barrel plug firmly into the clock’s DC input jack. Then, plug the adapter into a standard wall outlet. Verify a stable connection. Note: using both batteries and the adapter simultaneously is not recommended. Prioritize one method to avoid potential damage. Outlook.com features won’t be affected by power source choice.
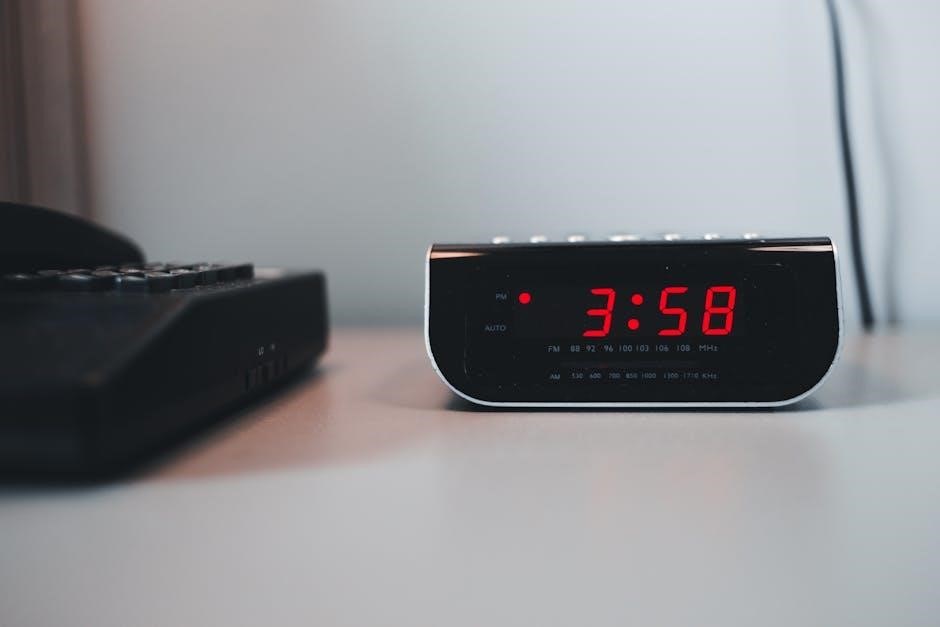
Setting the Initial Time and Date
Upon powering on, the Capello Clock may prompt you to set the current time and date. Utilize the control buttons (refer to the ‘Control Buttons & Their Functions’ section) to navigate the display. Typically, a ‘Mode’ button cycles through time, date, and other settings. Use ‘Up’ and ‘Down’ buttons to adjust the values.
Ensure you select the correct date format (MM/DD/YYYY or DD/MM/YYYY) and time format (12-hour or 24-hour). Confirm each setting by pressing the ‘Set’ or ‘Confirm’ button. Accurate initial setup is vital for automatic time synchronization, if available. Consider potential Outlook.com calendar synchronization after this initial configuration for seamless scheduling.
Time Setting Procedures
Adjusting the time on your Capello Clock involves accessing the time setting mode, usually initiated via a dedicated ‘Mode’ button. Once in this mode, the hour display will typically flash, indicating it’s ready for adjustment. Use the ‘Up’ and ‘Down’ buttons to increment or decrement the hour. Press ‘Mode’ again to move to minute adjustment, repeating the increment/decrement process.
For 24-hour format, simply set the hour from 00 to 23. For 12-hour format, ensure you correctly set AM or PM. After setting the time, confirm your changes with the ‘Set’ button. Remember, accurate timekeeping is crucial, especially if you plan to integrate with Outlook.com for calendar synchronization and reliable email notifications.
Manual Time Adjustment
Should your Capello Clock require a time correction outside of automatic synchronization, manual adjustment is straightforward. Press and hold the ‘Mode’ button until the hour display begins to flash. Utilize the ‘Up’ and ‘Down’ buttons to precisely set the current hour. A subsequent press of ‘Mode’ will shift focus to the minutes, allowing for similar incremental adjustments.
Confirm your changes by pressing ‘Set’ or ‘Mode’ one final time. This ensures the new time is saved. Remember to double-check AM/PM settings if using a 12-hour clock. Accurate manual adjustments are vital for maintaining synchronization with Outlook.com features like calendar events and timely email notifications.
Automatic Time Synchronization (If Applicable)
Certain Capello Clock models offer automatic time synchronization, leveraging network connectivity for precision. To enable this feature, navigate to the ‘Settings’ menu and select ‘Auto Sync’. The clock will then attempt to connect and synchronize with a time server, ensuring accuracy.
This is particularly useful when integrating with Outlook.com, as consistent timekeeping is crucial for calendar synchronization and reliable email notifications. If synchronization fails, verify your network connection and retry. Maintaining accurate time via automatic sync streamlines your productivity and ensures seamless integration with Outlook.com’s Smart Network Data Services.
Alarm Functionality
The Capello Clock boasts a versatile alarm system designed to reliably wake you. Access the alarm settings through the main menu, where you can set multiple alarms with customized schedules. Each alarm allows for individual day selection – choose weekdays, weekends, or specific days of the week.
Integration with Outlook.com, while potential, doesn’t directly impact core alarm functionality. However, accurate time synchronization (if enabled) ensures alarms trigger precisely as scheduled. Explore options for alarm sounds and volume levels to personalize your wake-up experience. The snooze function offers adjustable intervals for a more gradual awakening, enhancing overall usability.
Setting and Activating Alarms
To set an alarm, navigate to the ‘Alarm’ menu using the control buttons. Press ‘Set’ to input the desired alarm time – hours and minutes. Select the days of the week for the alarm to repeat, or choose ‘Once’ for a single occurrence. Confirm your selections by pressing ‘Set’ again.
Activating the alarm is simple: ensure the alarm icon is illuminated on the display. You can toggle alarms on or off individually. While direct Outlook.com calendar integration isn’t currently available, setting alarms based on scheduled events is possible. Remember to check the clock’s time synchronization to ensure alarms align with your schedule. A confirmation tone will sound upon successful alarm activation.
Snooze Function Details
The Capello Clock’s snooze function allows for a brief extension of your sleep after the alarm sounds. Upon initial alarm activation, pressing the ‘Snooze’ button will temporarily silence the alarm for a pre-set duration – typically nine minutes, though this may be configurable in advanced settings.
The alarm will reactivate after the snooze interval, providing another opportunity to snooze or dismiss it entirely. Repeated snoozing is permitted, but be mindful of potential disruptions to your schedule. While not directly linked to Outlook.com’s task management, the snooze function can help manage short delays before addressing important reminders. The snooze duration cannot be customized.
Alarm Volume Control

The Capello Clock features adjustable alarm volume levels to suit your preferences. Volume control is typically managed via dedicated buttons on the clock’s exterior, often marked with plus (+) and minus (-) symbols. Pressing these buttons cycles through a range of volume settings, from silent (alarm off) to a maximum audible level.
It’s crucial to test the selected volume to ensure it’s sufficient to wake you reliably. While the Capello Clock doesn’t directly integrate with Outlook.com’s notification system, a properly set alarm volume ensures you don’t miss important calendar events or email alerts. The clock remembers your last selected volume setting for subsequent alarms.
Advanced Features & Troubleshooting
The Capello Clock boasts a backlight for enhanced visibility in low-light conditions, activated by a dedicated button. Should the display malfunction, try resetting the clock to factory defaults – consult the ‘Resetting the Clock’ section. If the alarm fails to sound, verify it’s properly activated and the volume isn’t muted.
Future updates may include Outlook.com integration, potentially enabling email and calendar synchronization. Currently, the clock operates independently. For persistent issues, check battery levels or power adapter connections. Remember, Outlook.com prioritizes sender reputation; this doesn’t directly affect the clock, but highlights the importance of reliable connections.
Using the Backlight
Illuminating the Display: The Capello Clock features a convenient backlight function designed to improve readability in dimly lit environments. Activation is simple – locate the dedicated ‘Backlight’ button, typically found on the clock’s rear or side panel. A single press will instantly illuminate the LCD screen, providing clear visibility of the time and date.
Backlight Duration & Settings: The backlight typically remains active for a pre-set duration (around 5-10 seconds) to conserve battery life. Some models may offer adjustable brightness levels or the option to keep the backlight continuously on. Explore the clock’s settings menu for customization. Remember, prolonged backlight use will reduce battery lifespan.

Resetting the Clock to Factory Defaults
Returning to Original Settings: If your Capello Clock experiences unexpected behavior or incorrect settings, resetting it to factory defaults can resolve many issues. This process erases all personalized configurations, restoring the clock to its original, out-of-the-box state.
Reset Procedure: Typically, a recessed ‘Reset’ button (often requiring a pin or paperclip) is located on the clock’s underside. Press and hold this button for approximately 10-15 seconds. The display will likely flash or briefly turn off, indicating the reset is in progress. Following the reset, you’ll need to reconfigure the time, date, and any alarm settings. This ensures a fresh start for optimal performance.

Common Issues and Solutions (e.g., Display Problems, Alarm Not Working)
Troubleshooting Your Capello Clock: Several common issues can arise. Display Problems: If the display is dim or blank, first check the battery level or power adapter connection. Try adjusting the backlight settings. Alarm Not Working: Ensure the alarm is properly set and activated. Verify the volume isn’t muted.
Connectivity Issues: If anticipating Outlook.com integration, confirm a stable network connection. General Malfunctions: A reset to factory defaults (see section above) often resolves unexplained errors. If problems persist, consult the full user manual or contact customer support for further assistance. Regularly checking for firmware updates can also prevent issues.
Capello Clock and Outlook.com Integration (Potential Future Feature)
Enhancing Productivity: Future Capello Clock updates may integrate seamlessly with Outlook.com, leveraging Microsoft’s Smart Network Data Services (SNDS) for reliable connectivity. This integration aims to provide enhanced calendar synchronization, displaying Outlook appointments directly on the clock’s display.
Email Notifications: Potential features include customizable email notifications for upcoming events or reminders. Utilizing Outlook.com’s security features like SPF, DKIM, and DMARC will ensure secure data transfer. Users could manage newsletters and subscriptions directly through the clock interface. This integration promises a more connected and efficient user experience, streamlining daily task management.
Connecting to Email Notifications
Seamless Alerts: To connect your Capello Clock to email notifications via Outlook.com, ensure your account utilizes robust authentication protocols – SPF, DKIM, and DMARC – crucial for deliverability, especially with high email volume. The clock will leverage Outlook.com’s SNDS for reliable data transmission.
Customization Options: Users can customize notification preferences, selecting which email accounts and types of messages trigger alerts on the clock’s display. This feature will allow for prioritized information, minimizing distractions. Secure sign-in options will be available, adhering to Microsoft’s privacy policy and usage guidelines, ensuring user data protection.
Calendar Synchronization Possibilities
Stay Organized: The Capello Clock aims to integrate with Outlook.com calendars, offering a visual overview of upcoming appointments and events directly on the clock face. This synchronization will utilize Microsoft Places features, potentially displaying location-based reminders alongside scheduled activities.
Seamless Integration: Users can expect two-way synchronization, allowing event creation and modification through Outlook.com to reflect instantly on the clock, and vice versa. Microsoft To Do integration is also envisioned, displaying task deadlines alongside calendar entries. Secure access and adherence to Outlook.com’s privacy policies will be paramount throughout the synchronization process.
Maintaining Your Capello Clock
Longevity & Care: To ensure optimal performance, regular maintenance is key. Gently clean the clock face and casing with a soft, dry cloth; avoid abrasive cleaners or liquids. Proper battery replacement, following the guidelines in this manual, is crucial for consistent operation.
Preventative Measures: Avoid exposing the clock to extreme temperatures, humidity, or direct sunlight. Periodically check for loose connections, especially if using a power adapter. Adhering to these simple steps will help maintain the clock’s functionality and appearance, ensuring years of reliable timekeeping. Remember to consult the usage guidelines for further details.
Cleaning and Care Instructions
Gentle Cleaning is Best: Regularly dust your Capello Clock with a soft, lint-free cloth to prevent buildup. For more stubborn marks, lightly dampen the cloth with water – never spray liquid directly onto the clock. Avoid harsh chemicals, solvents, or abrasive cleaners, as these can damage the finish and potentially affect the internal components.

Protecting the Display: Be particularly careful when cleaning the display. A microfiber cloth is ideal. Do not apply excessive pressure. Proper care ensures clear readability and extends the life of your Capello Clock, maintaining its aesthetic appeal and functional reliability. Refer to the privacy policy for further assistance.
Battery Replacement Guidelines
Powering Your Capello Clock: When replacing batteries, always use the correct type as specified in the initial setup guide – typically AA or AAA alkaline batteries. Ensure proper polarity (+ and -) when inserting new batteries. Remove old, depleted batteries immediately to prevent potential leakage and damage to the clock’s internal circuitry.
Safe Disposal: Dispose of used batteries responsibly, following local environmental regulations. Avoid mixing old and new batteries, or different battery types. Regularly check battery levels, especially if experiencing display issues or alarm malfunctions. Maintaining proper battery care ensures consistent timekeeping and optimal performance of your Capello Clock.